Course registration form
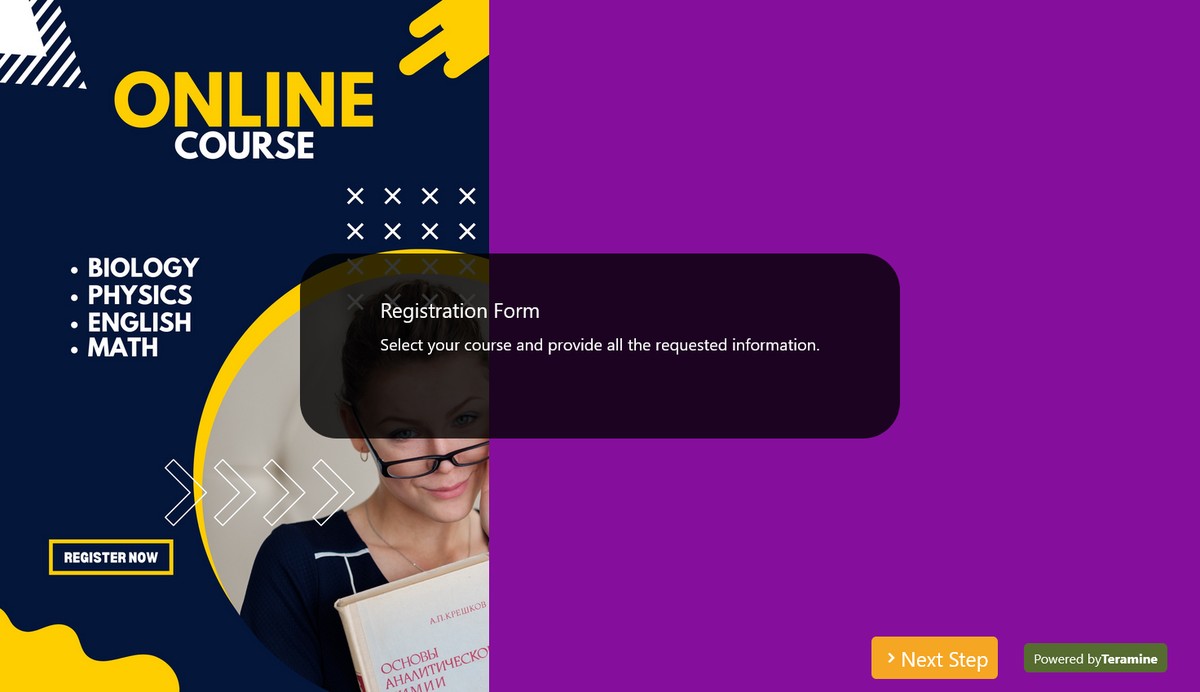
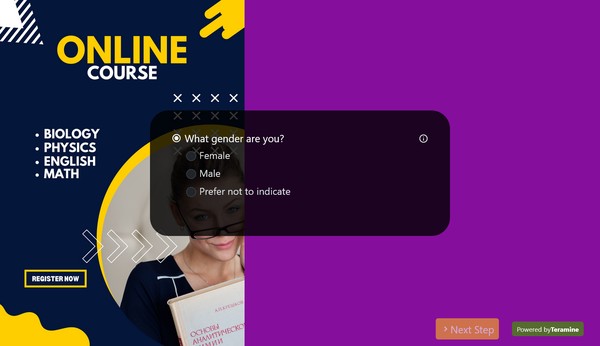
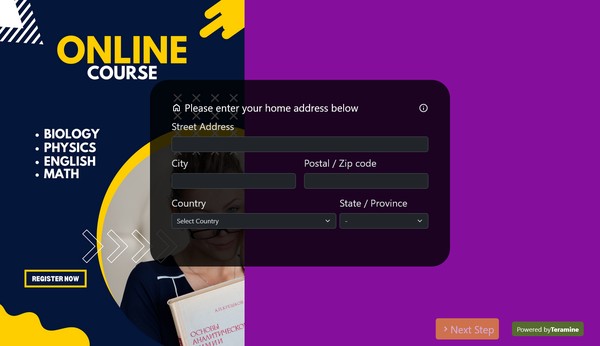
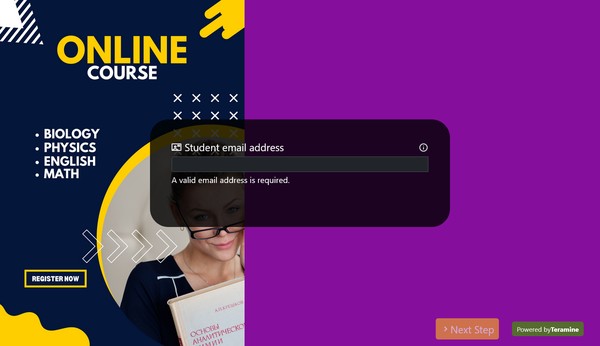
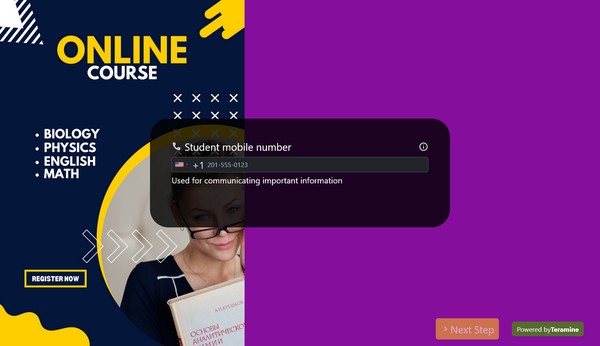
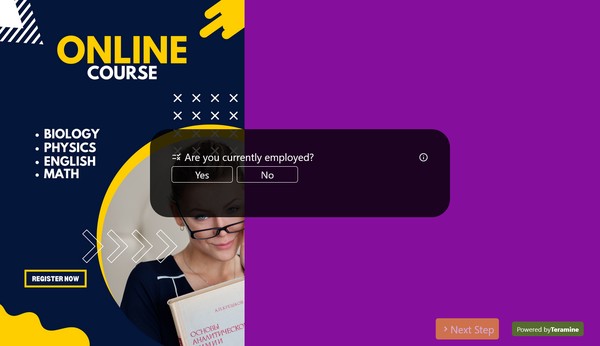
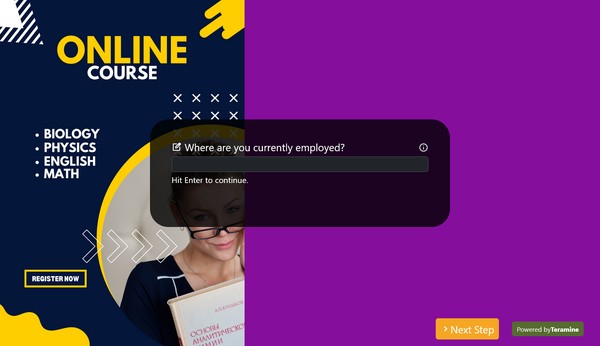
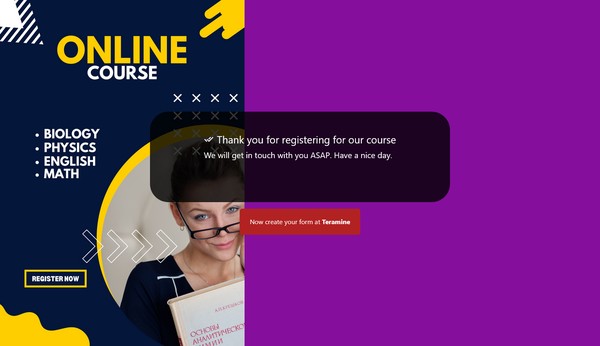
A course registration form can be used by educational institutions to allow students to enroll in courses for a upcoming courses. This form typically captures essential information to facilitate the enrollment process, ensure proper placement, and manage course offerings.
Course registration form FAQs
Here are the common elements found in a course registration form:
Student Information:
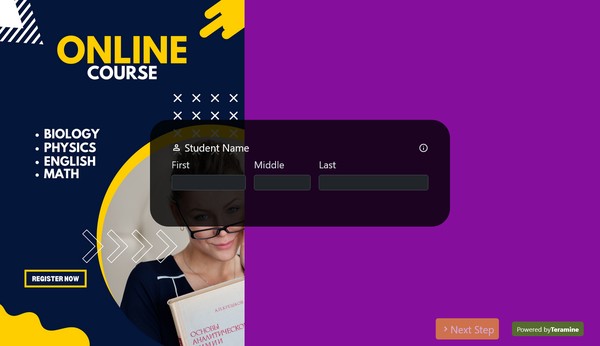
- Full name
- Student ID number
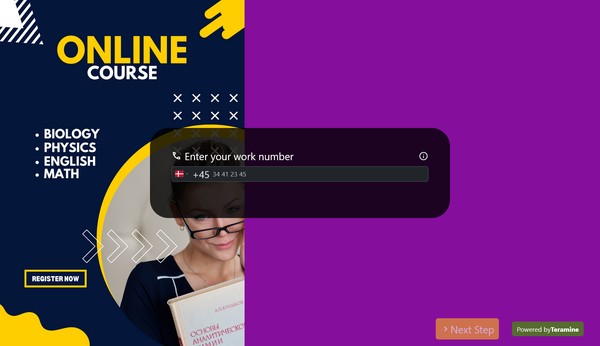
- Contact information (address, phone number, email)
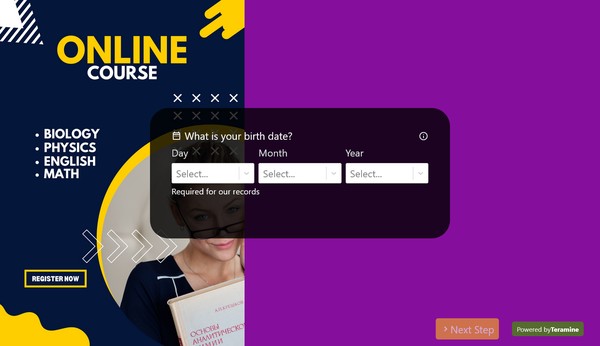
- Date of birth
- Academic status (e.g., freshman, sophomore, junior, senior)
- Major or program of study
Course Information:
- Course code and title
- Course section number
- Credit hours
- Instructor's name
- Meeting times and locations
Registration Details:
- Term or semester for which the registration is being done
- Special requirements or prerequisites for the course
- Any required permissions or approvals (e.g., from academic advisors or instructors)
Additional Information:
- Payment information or confirmation of payment of tuition and fees
- Signatures from relevant parties (student, advisor, department head)
- Notes or special instructions (e.g., requests for special accommodations)
Policies and Agreements:
- Statement of understanding regarding academic policies (e.g., drop/add deadlines, attendance requirements)
- Agreement to abide by the institution's code of conduct and academic integrity policies
Course registration forms can be paper-based or electronic, depending on the institution's system. Electronic forms may be part of an online student portal, allowing for easier and more efficient processing.
Of course. You can make a variety of updates to the form after you clone it into your Teramine Forms account.
- You can change the background image to replace the default background, or remove it entirely.
- You can add your own logo to the form to align with your brand.
- You can add more widgets as per your needs. For example, you may want to ensure the email address entered is valid and can thus configure the Email widget to send a one-time-password so the user can verify it.
- You can also remove unneeded information widgets.
- You can connect one or more integrations such as Google Sheets, Hubspot, Mailchimp, etc.
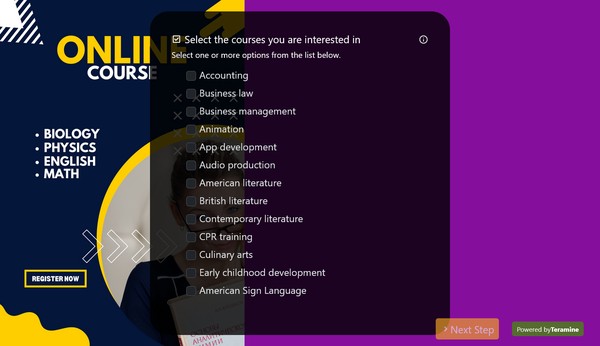
Sure, after cloning the form (by clicking the Use template button), you can edit the form, remove the courses shown and add your own.
Yes. We take the security of your data very seriously. We have built our application in compliance with the latest security standards. Your data is locked down with access allowed only after strict security checks. In addition, we use the latest SSL encryption standards to protect your data in transit from our servers to your device. You can also protect your forms by using our captcha widgets to prevent spam.'


